
An oak acorn deciding to germinate in a pot is a small event. Nothing is left to chance: the slightest deviation in watering, an unsuitable substrate, or poorly controlled temperature, and the adventure stops abruptly. Oaks, known for their toughness, actually hide a particular sensitivity to repeated pruning. However, certain species offer excellent surprises to those who attempt the bonsai experience. Yet, one must be prepared to wait: shaping an oak bonsai from a simple acorn requires a perseverance that tests more than one enthusiast, especially when compared to the usual species.
Frequent clumsiness, such as hasty intervention on the roots or poorly planned repotting, weakens the tree from its first springs. The oak’s growth cycles, alternating vigorous pushes and marked rest, demand continuous attention at every stage.
See also : Discover how to easily practice sports online from home
Which oak to choose and why start from an acorn?
The choice of species determines the entire project. Varieties like pubescent oak, cork oak, or quercus ilex adapt particularly well to life in a pot. Their foliage, whether evergreen or semi-evergreen, their textured bark, and their natural robustness make them ideal partners for embarking on an oak bonsai. To start, collect acorns that have ripened, avoiding those showing signs of pests or mold.
Starting the project from an acorn means choosing to shape the tree at every stage. This way, the taproot, which is highly developed in wild young plants, is avoided, complicating pot cultivation. Making an oak bonsai from an acorn allows for comprehensive monitoring, from start to finish: observing the birth of the first leaves, guiding root growth, controlling trunk structure. This demanding yet rewarding journey gives the tree remarkable harmony and adaptation.
See also : Insuring Your Vehicle: How to Identify Truly Useful Options
To better understand the specifics of each species, here’s what distinguishes them:
- Pubescent oak: responds well to pruning, fine and elegant foliage.
- Cork oak: thick and decorative bark, moderate growth, withstands drought well.
- Quercus ilex: compact natural form, evergreen foliage, regular growth.
The choice of acorn already marks part of the outcome. The mentioned species provide beginners and enthusiasts alike with a solid foundation for acorn bonsai creation, and each step brings its share of lessons.
Key steps to transform an acorn into a bonsai: from sowing to the first shaping
Start by selecting a healthy acorn, harvested in the autumn, with no signs of mold. Place it in the refrigerator for a few days, in a slightly moist substrate: this stratification step mimics winter and promotes germination.
On the first sunny days, sow the oak acorn flat, point down, in a deep pot. A draining substrate, a mix of potting soil, coarse sand, and perlite, prevents excess water. Watch for the taproot: it stretches quickly and should be cut by a third when it reaches five to eight centimeters. This often-dreaded action encourages the growth of lateral roots, essential for pot cultivation.
As soon as the first leaves form, transplant the young plant into a wide culture pot or a bonsai pot. Provide it with bright light, but avoid direct sunlight during the hottest hours. The substrate should remain moist without being soggy.
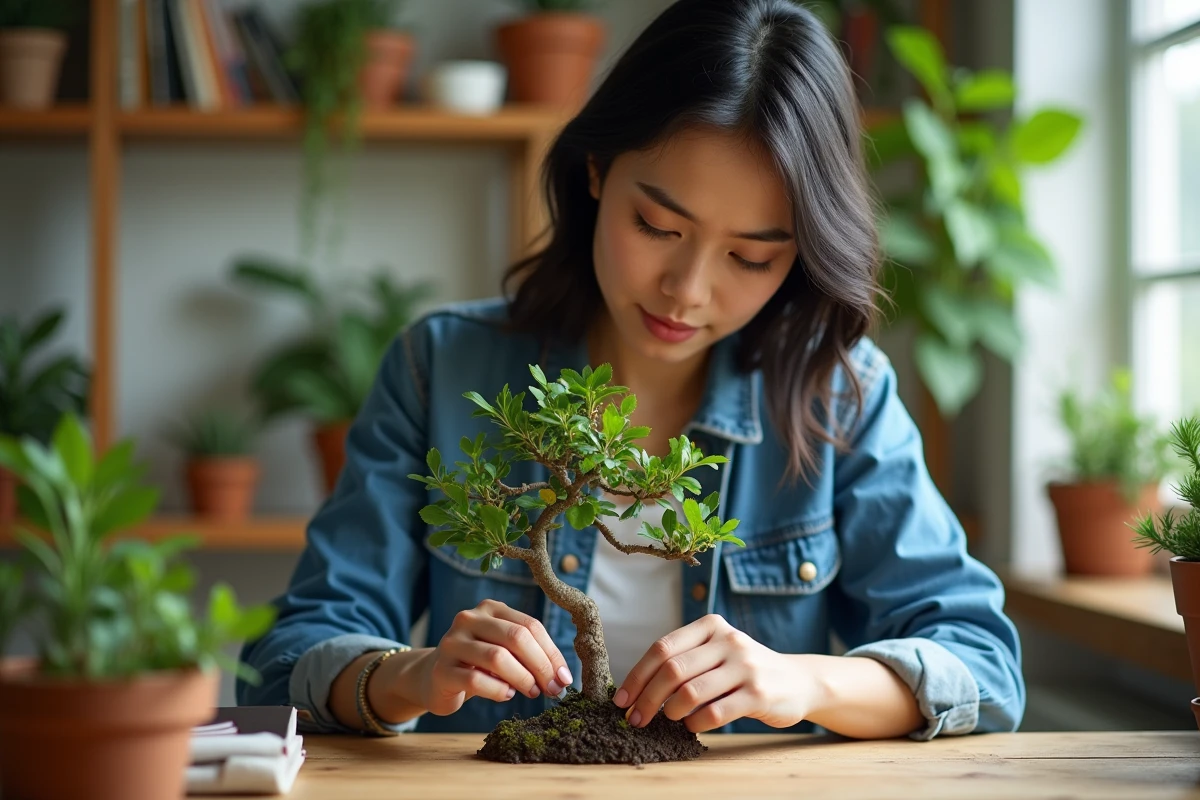
The first pruning is done when the tree reaches fifteen to twenty centimeters. By cutting the main stem above the fourth leaf, branching is triggered. From the second year, start shaping the silhouette using aluminum or copper wire, always with caution. The growth of the oak acorn bonsai requires patience, measured actions, and a watchful eye.
To structure the approach, keep the following points in mind:
- A light and well-drained substrate
- Careful control of the taproot
- Early pruning followed by gentle wiring
Adhering to these steps shapes a living potted tree, robust and true to the spirit of bonsai, while preserving the raw energy of the oak.
Care, tips, and pitfalls to avoid with an oak bonsai
A controlled watering makes all the difference. Even miniaturized, the oak dislikes either drought or sitting in moisture. Adjust the frequency according to the season and the substrate’s ability to dry: in summer, daily checks are necessary, while in winter, watering should be reduced, especially if the bonsai spends the cold season outdoors.
Light must also be balanced. A potted oak needs brightness but not direct exposure during the hottest hours. Near an east-facing window or under light shade, it develops dense and balanced foliage. Too little light causes the stems to elongate; too much sun dries out the foliage.
Regarding fertilizer, moderation is key. Opt for a balanced supply, rich in trace elements, from early spring to late summer. Autumn, in particular, remains a good time to help the tree build its reserves.
The pruning is a true artisan’s task. It is done after the spring growth to preserve the bonsai’s vitality. Remove vertical or unbalanced branches, pinch young shoots, and encourage branching near the trunk.
To ensure the good development of your oak bonsai, monitor the following points:
- Appearance of pests such as scale insects, aphids, or powdery mildew: early detection prevents spread.
- Winter protection: a cold greenhouse or winter cover protects from frost while ensuring good ventilation.
- Repotting every three to five years: it renews the substrate and allows for monitoring the roots.
Growing an oak bonsai requires a delicate balance between rigor and observation. Every action counts, and each season brings its share of challenges. But when, over the years, the tree adopts the silhouette and appearance of a venerable miniature oak, the effort transforms into a tangible reward. It’s up to you to imagine, beneath the budding branches, an entire landscape in miniature.